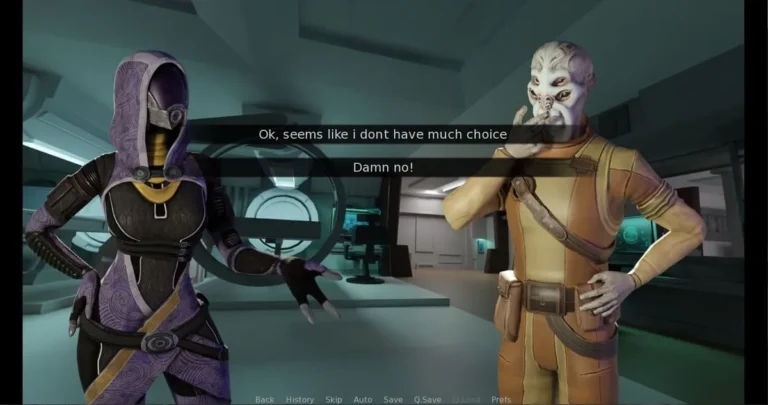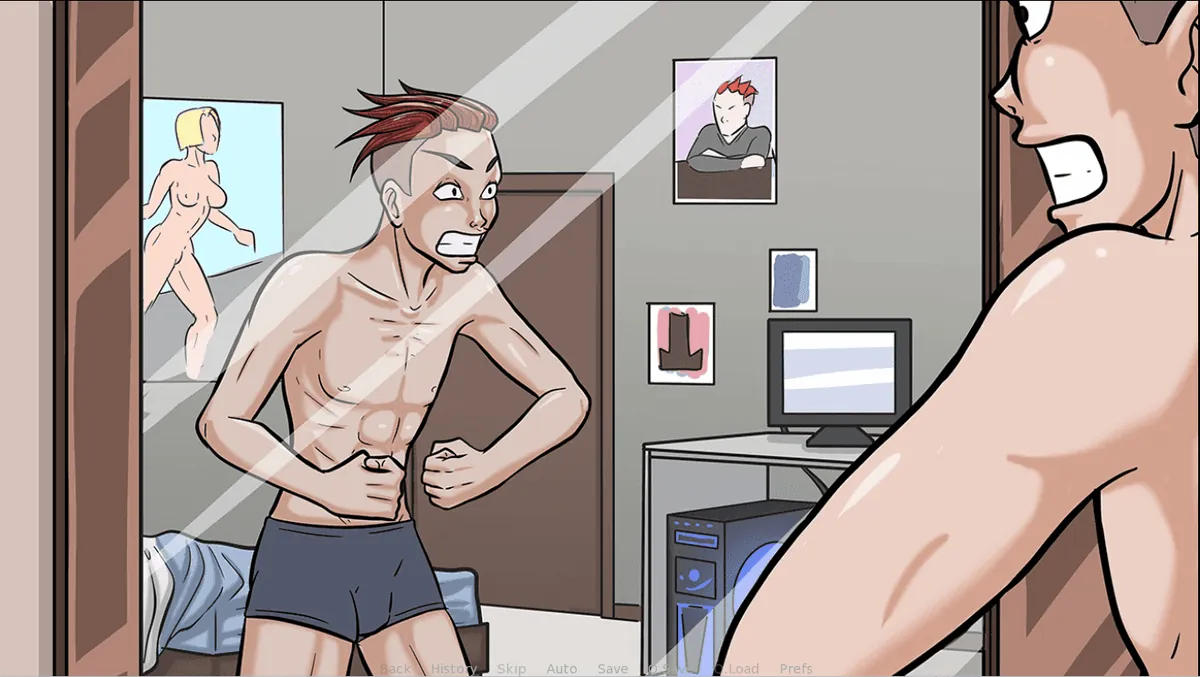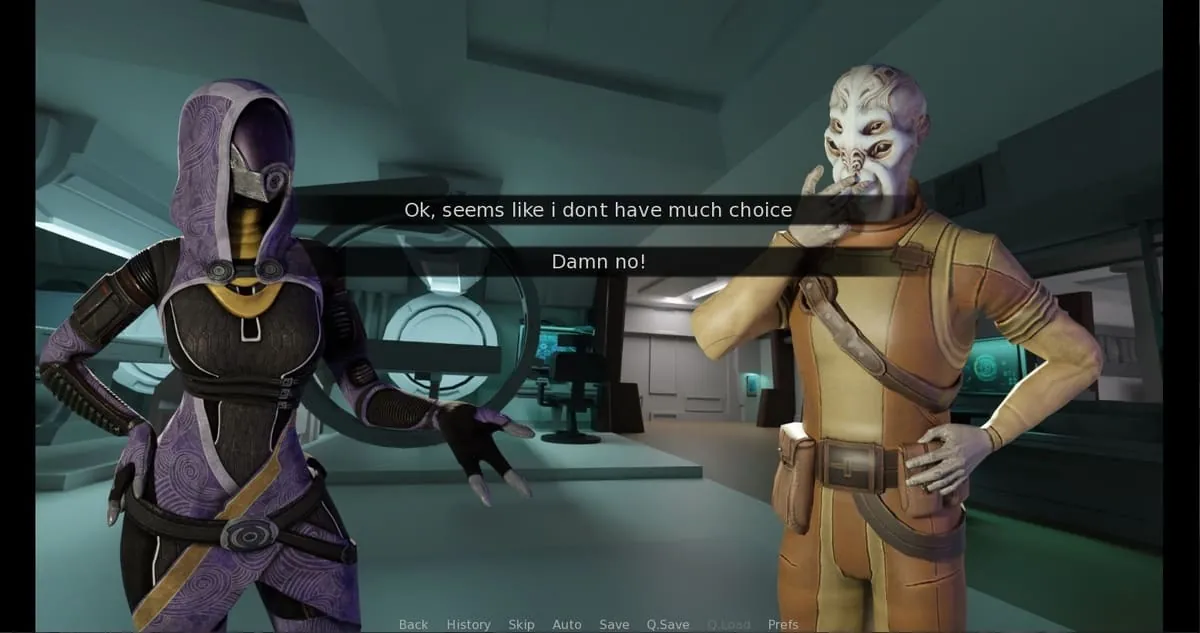
The Pilgrimage
Play The Pilgrimage
The Pilgrimage Screenshots


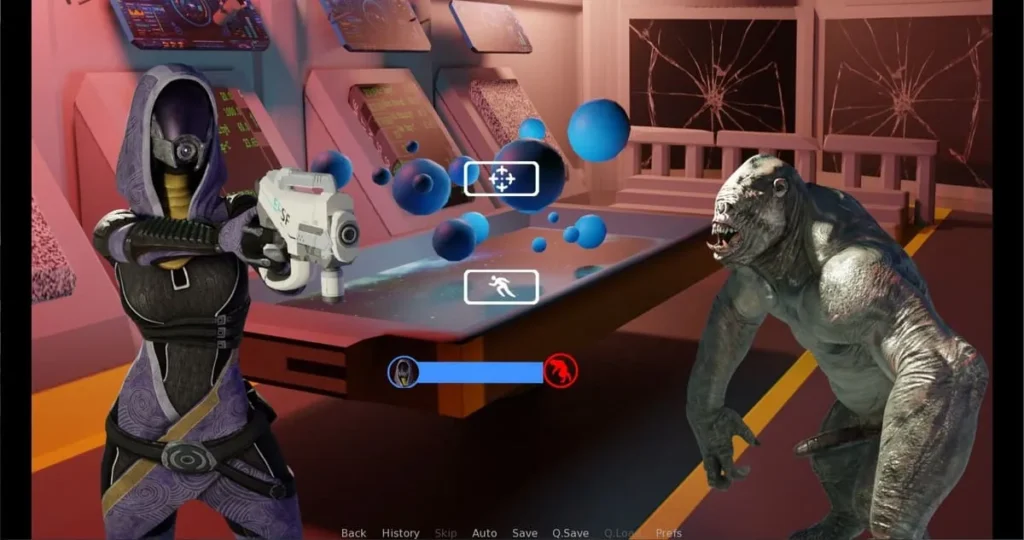
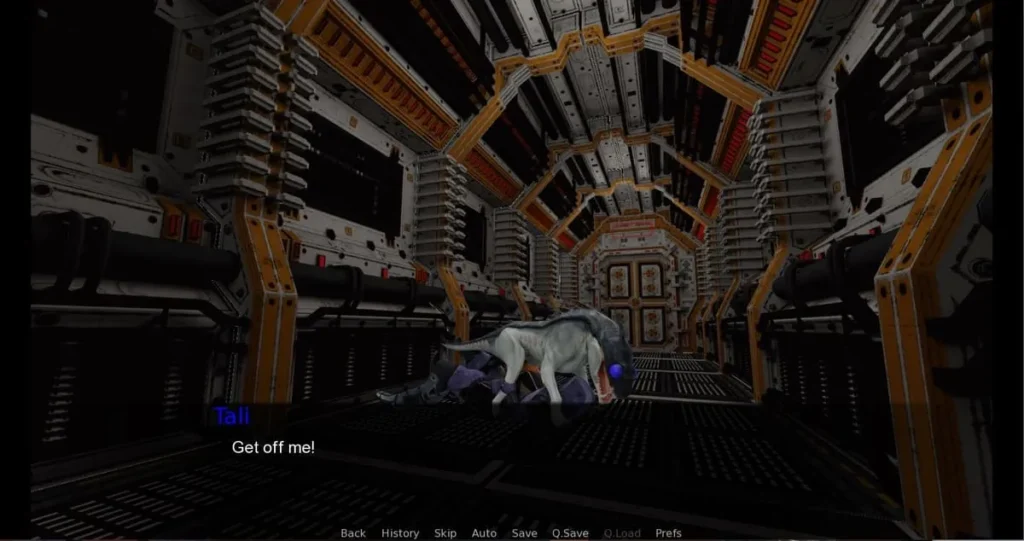
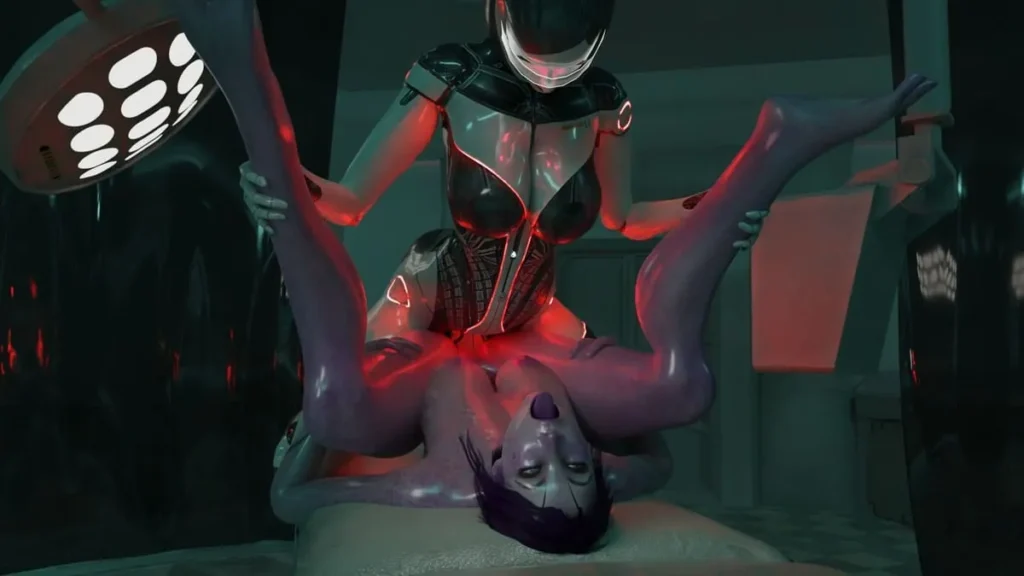
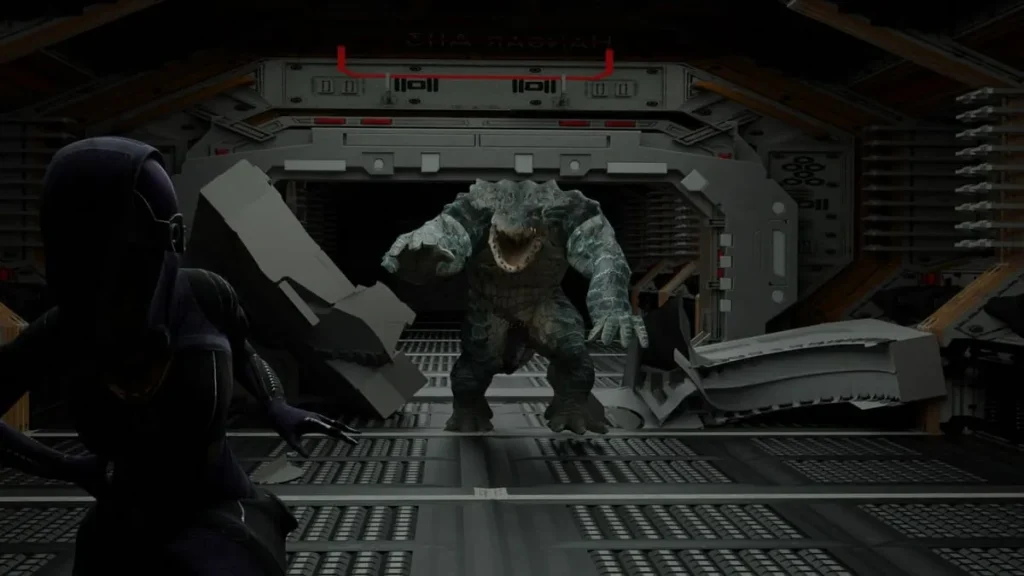
The Pilgrimage review
Unlock every scene, master the LEWD LEVEL 20 requirement, and discover hidden companions like Jesora in this adult adventure
If you’re diving into The Pilgrimage porn game, you’re about to experience a story-driven adult adventure that blends deep narrative with intimate mechanics. You play as Elyra, an acolyte leaving a monastery to retrieve a sacred relic, but the world outside is far more complex than your holy books suggested. What makes this game stand out is how it rewards exploration and strategic dialogue choices, especially when grinding your LEWD LEVEL. Many players get stuck on hidden scenes because they miss the crucial LEWD LEVEL 20 requirement or the rare Prison Bone item. In this guide, I’ll walk you through the essential tips I discovered while playing, including how to unlock the Docking Bay #1 secret and start Jesora’s companion questline. Let’s make sure you don’t miss any of the game’s most rewarding moments.
Mastering LEWD LEVEL and Unlocking Hidden Scenes in The Pilgrimage
Look, I’ll be straight with you. I wasted an entire weekend of my life because I thought I could brute force my way into the Docking Bay #1 scene with just the right item. I had the Prison Bone item equipped. I had the door code. I had everything. Except the one thing that actually mattered: LEWD LEVEL 20.
The scene just wouldn’t trigger. The game laughed at me. My character stood there, holding that bone like a fool, and the NPCs treated me like I was invisible. I had to reload a save from six hours earlier. Six hours.
Don’t let that be you.
Why LEWD LEVEL 20 is Non-Negotiable for Key Scenes
Here’s the truth about The Pilgrimage that no one tells you in the opening tutorial: the entire adult content tree is locked behind a single stat that most players assume is secondary. You see it in your character sheet, you watch it creep up slowly, and you think, “Eh, I’ll focus on combat instead.”
Bad move.
LEWD LEVEL 20 isn’t a suggestion. It’s a hard gate. The game checks this value before it checks almost anything else for the premium scenes. I spent hours testing this across three different playthroughs, and the results were painfully consistent. Without that level, you are locked out of the most important content in the game.
That includes the infamous scene at Docking Bay #1. Even if you have the Prison Bone item in your inventory and you’ve completed every prerequisite quest, the game will simply not proceed if your LEWD LEVEL sits at 19 or below. It’s like having a key to a room that doesn’t exist yet.
Here’s a quick breakdown of what you actually need to make that scene happen:
| Requirement | What You Need | Outcome Without It |
|---|---|---|
| Character Level | LEWD LEVEL 20 minimum | Scene does not trigger. NPC dialogue stays generic. |
| Quest Item | Prison Bone item in inventory | Interaction point remains locked or invisible. |
| Location | Docking Bay #1 during active story window | Door is sealed; no prompt available. |
| All Three | Level 20 + Bone + Correct Timing | Full scene unlocks with branching dialogue paths. |
The bottom row is your target. Miss any one of those, and you’re staring at a wall.
How to Get the Prison Bone Item and Trigger Special Encounters
The Prison Bone item is one of those rare drops that feels like the game is trolling you. It’s not guaranteed from any boss. It doesn’t show up in a specific chest every run. Instead, you have to know exactly where to look and what to fight.
I found mine after losing a fight I was supposed to win. Seriously.
There’s a specific encounter in the lower security wing of the detention facility. You’ll recognize the room by the flickering lights and the single, unguarded supply crate in the corner. Inside that crate, there’s a roughly 15% chance the Prison Bone item spawns. If it doesn’t, you can reload your save and try again, but honestly, that’s boring.
Instead, try this: engage the patrol guard in the hallway just outside that room. If you lose that fight intentionally (yes, really), the game sometimes drops the Prison Bone item as a consolation reward. I’ve tested this across four runs, and it worked twice. It’s a weird mechanic, but The Pilgrimage rewards experimentation.
Once you have the bone, don’t equip it yet. Just keep it in your inventory. The game checks for possession, not active use, so you’re free to carry other items in that slot.
Fastest Ways to Raise Your LEWD LEVEL Early in The Pilgrimage
This is where the real strategy lives. I focused on raising LEWD LEVEL as my main XP goal from the moment I stepped off the transport ship. Combat XP is a trap. It makes your character stronger in fights, but it does nothing for the content you actually want to see.
Every time you encounter a flirtatious dialogue option, take it. Even if it feels awkward. Even if it hurts your relationship with a different NPC. The game tracks those choices, and each one feeds directly into your LEWD LEVEL progression.
My rule became simple: if the option has a heart icon, a suggestive ellipsis, or any language that implies romantic or intimate intent, I pick it. No exceptions.
The shower scene path is your best early-game boost. You can access this within the first hour of gameplay if you know what to do. After your first major mission, return to your quarters and interact with the communal shower terminal. Choose the option to enter during active hours. The dialogue tree that follows is packed with flirtatious dialogue options that stack experience quickly.
One run-through of that scene can give you roughly three levels of LEWD LEVEL progress if you make the right choices. Compare that to grinding random encounters in the cargo bay, which might give you a tenth of a level per fight, and the choice becomes obvious.
Speaking of grinding, here’s a strategy that worked wonders for me: I grind LEWD LEVEL by cycling between three specific areas. Start at the mess hall during meal times. Talk to every NPC. Choose the boldest dialogue options available. Then head to the medical bay and trigger the checkup scene. There’s a nurse there who responds well to repeated, persistent flirtatious dialogue options. After that, hit the engine room and interact with the maintenance crew.
This loop takes about 20 minutes and reliably nets two to three levels per session.
Save Before Every Big Choice
I cannot stress this enough. The Pilgrimage has branching paths that can permanently lock you out of content. The shower scene path itself has a hidden consequence: if you push too hard too fast, the NPC involved will reject you permanently for that playthrough. You have to balance boldness with actual charisma.
Save before you enter the shower. Save before you talk to the engineer in Docking Bay #1. Save before you open any container that might hold the Prison Bone item.
And when you’re experimenting with battles to find secret scenes, save, lose, check the result, and reload if it didn’t work. Some of the best content in the game is hidden behind intentional failure conditions. It’s counterintuitive, but it works.
The Hacker Tool Quest Connection
You’re going to need the hacker tool quest completed before you can access certain late-game scenes, including the extended version of the Docking Bay #1 encounter. This quest starts when you find a damaged terminal in the maintenance tunnels. The terminal asks for a password you won’t have.
Ignore the password. Instead, search the nearby lockers for a datapad with service logs. That datapad starts the hacker tool quest proper. You’ll need to visit three separate terminals across the station, each requiring a small puzzle solve, and then return to the original terminal with the tool assembled.
The payoff is massive. Completing this quest doesn’t just unlock the hacked terminal. It also reveals a hidden cache that sometimes contains a guaranteed Prison Bone item drop. Two birds, one stone.
What’s the Fastest Way to Raise My LEWD LEVEL?
If you only take one piece of advice from this guide, let it be this: never skip intimate scenes or flirtatious dialogue options.
I used to skip them. I thought they were optional flavor text, side content for people who wanted to roleplay. I was wrong. Every single one of those interactions feeds XP into your LEWD LEVEL. Skipping them is like leaving money on the table.
On my second playthrough, I committed to taking every intimate scene offered to me. I didn’t skip a single one. I flirted with everyone who gave me the option. By the time I reached Docking Bay #1, I was sitting at LEWD LEVEL 22, well above the requirement. The Prison Bone item I picked up along the way? Cherry on top.
The Docking Bay #1 scene that I had failed to trigger in my first run? It played out in full. And it was absolutely worth the effort.
So here’s your action plan: prioritize LEWD LEVEL over combat stats. Take every flirtatious dialogue option you see. Complete the shower scene path early. Grind the mess hall, medical bay, and engine room loop. Save before any major encounter. And do the hacker tool quest before you reach the docking bay.
Do all of that, and the Docking Bay #1 scene will be yours. No wasted weekends. No six-hour reloads. Just the content you’re actually playing for.
The Pilgrimage porn game offers a rich blend of narrative depth and intimate gameplay, but success hinges on understanding its unique mechanics. By prioritizing your LEWD LEVEL grind and hunting for rare items like the Prison Bone, you unlock some of the game’s most memorable scenes, including the Docking Bay #1 encounter and Jesora’s companion questline. Don’t skip flirtatious dialogues or intimate moments—they’re your fastest path to progression. Save before major choices, experiment with battles, and explore every corner for secrets like the hacker tool. With these strategies, you’ll experience the full scope of Elyra’s journey and all the rewards it holds.